

How Balance Boards Help With Ankle Rehabilitation
That familiar, sickening pop. A misstep off a curb, an awkward landing after a jump, or a roll on the soccer field—and suddenly, you’re on the ground with a throbbing ankle. I’ve been there. My own Grade II ankle sprain left me sidelined for weeks, feeling frustrated and wobbly long after the initial pain subsided. The biggest surprise wasn’t the injury itself, but the lingering instability. My physical therapist handed me what looked like a simple piece of equipment: a wobble board. It didn’t look like much, but that board was the key to not just healing my ankle, but making it stronger and more resilient than before.
If you’re recovering from an ankle sprain, fracture, or chronic instability, you’ve likely heard about the importance of rehabilitation. But what you might not know is how a balance board can transform your recovery from a slow, passive process into an active, accelerated journey back to strength and confidence. This guide will walk you through the science-backed benefits of balance board ankle rehabilitation and show you how to use one safely and effectively.

Why Your Ankles Need Targeted Rehab After an Injury
When you sprain your ankle, you do more than just stretch or tear ligaments. You damage a critical internal system called proprioception. Think of proprioception as your body’s GPS. It’s the sense that tells your brain where your joints are in space without you having to look. It’s what allows you to walk without staring at your feet.
After an injury, this GPS system gets scrambled. The nerves that send signals from your ankle to your brain are disrupted. This is why even after the swelling goes down, your ankle might feel “untrustworthy” or prone to rolling again. Without targeted proprioception training, you’re at a much higher risk of reinjury. The goal of rehabilitation isn’t just to heal the tissue; it’s to recalibrate this essential system.

How a Balance Board Accelerates Healing and Stability
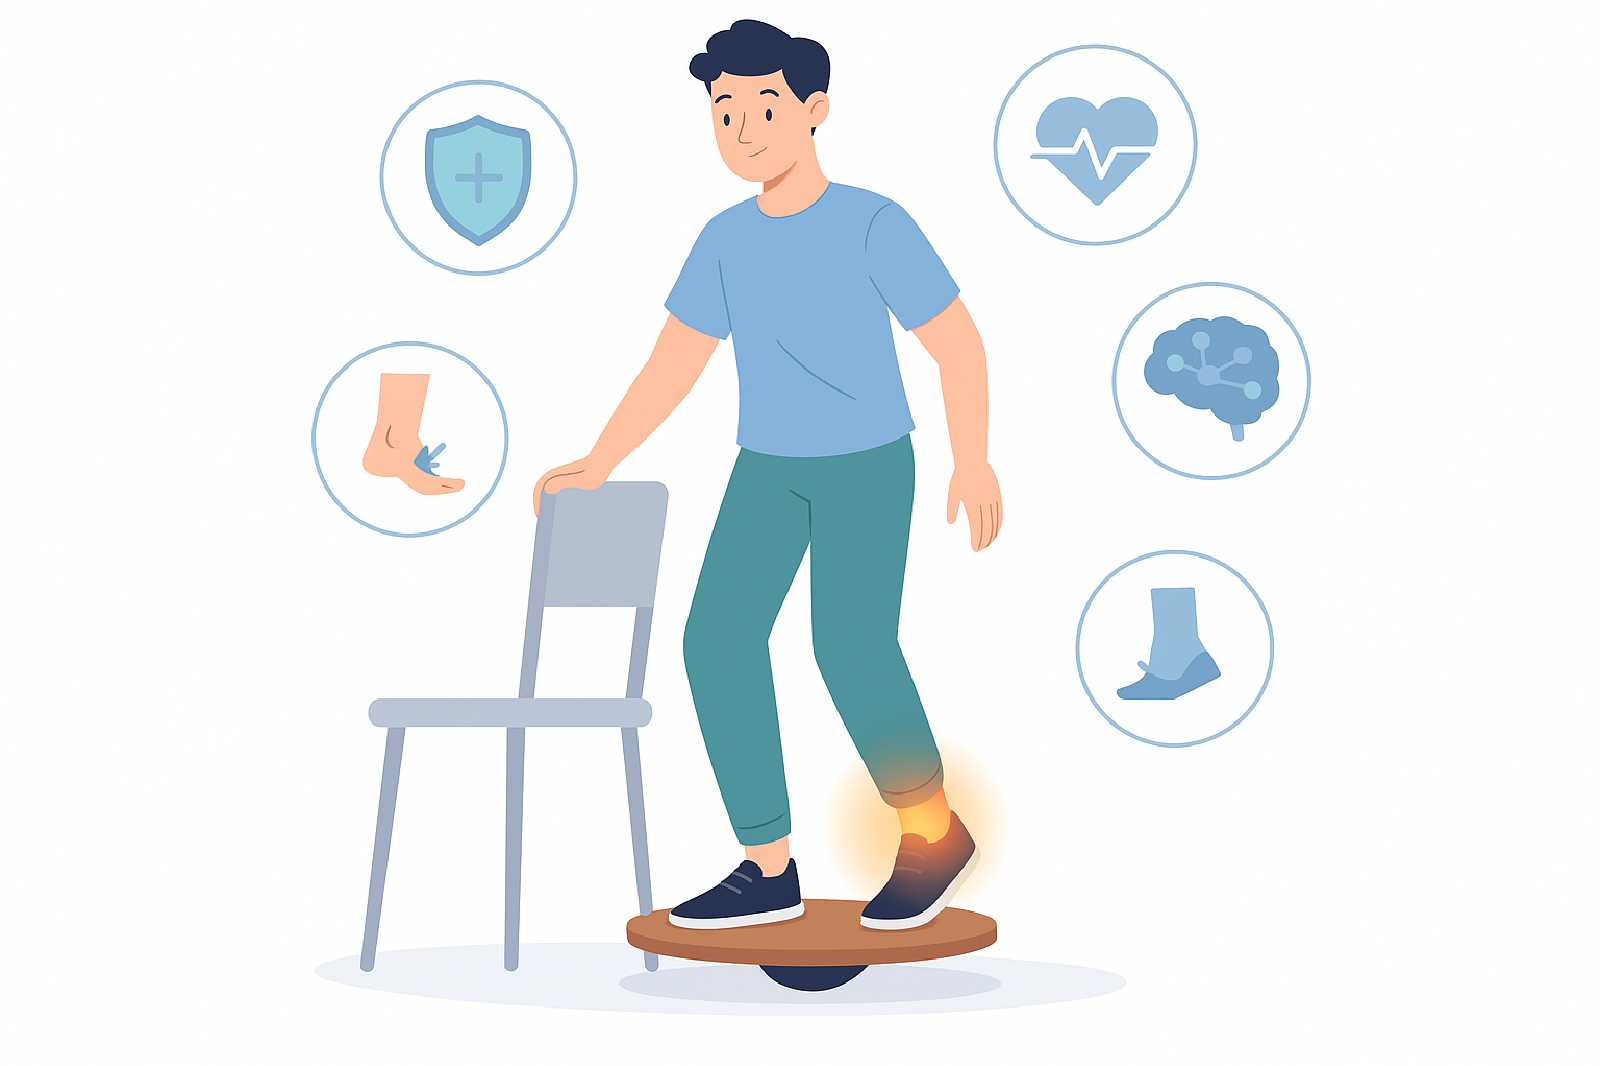
This is where a balance board becomes your best recovery tool. By creating a controlled, unstable surface, it forces the muscles, tendons, and ligaments in your ankle to make constant, tiny adjustments to keep you balanced. This active process retrains your neuromuscular system and delivers incredible, research-backed benefits.
The Science-Backed Benefits of Balance Boards for Ankle Rehab
Clinical research confirms that using a balance board is one of the most effective ways to recover from an ankle injury.
Here’s what the studies show:
- Improved Ankle Stability and Function: A 2020 study in the Journal of Athletic Training found that patients with chronic ankle instability who used a wobble board not only felt more stable (a 2-point increase on a 10-point scale) but also showed tangible functional gains. Their ability to bear weight through the ankle increased by nearly 12 points, a clear sign of improved strength and function.
- Significant Pain Reduction: The same study revealed that balance board training led to a 2-point drop in pain on a 10-point scale. This is considered a “clinically important difference,” meaning it’s a noticeable and meaningful improvement in daily comfort.
- Enhanced Proprioception: By constantly challenging your balance, the board forces your ankle’s internal “GPS” to get back online. It strengthens the communication pathway between your ankle and your brain, leading to quicker reaction times and better joint control. This core benefit is the key to long-term ankle strengthening.
- Reduced Reinjury Rates: Perhaps most importantly, balance board recovery helps prevent future sprains. A large study of volleyball players found that athletes who incorporated balance board training into their routine had significantly fewer ankle reinjuries than those who didn’t.
Essentially, a balance board doesn’t just help you heal; it makes your ankle smarter, stronger, and more resilient against future injuries.

Choosing the Right Balance Board for Ankle Recovery
Not all balance boards are created equal, especially when it comes to rehabilitation. Starting with a board that’s too advanced can do more harm than good. For balance board for ankle rehab, you’ll want to start with something that offers controlled instability.
Here are the best types to consider:
- Wobble Boards: These are typically round boards with a single dome-shaped pivot point underneath. They allow for 360-degree movement (or “wobble”) and are a favorite among physical therapists for rehabilitation. A wobble board is an excellent choice for targeted ankle work.
- Rocker Boards: These boards have a curved base and only move in two directions (side-to-side or front-to-back). This limited range of motion makes a rocker board a fantastic and safe starting point for beginners or those in the very early stages of recovery.
For more details on the different types, check out our guide on Types of Balance Boards Explained. It’s best to avoid advanced roller-style boards (like an Indo Board) until you are fully recovered and have regained significant strength and confidence.

Step-by-Step Ankle Rehab Exercises (Beginner to Advanced)
Before you begin any ankle injury exercises, it’s crucial to get clearance from your doctor or physical therapist.
The right time to start depends on the severity of your injury:
- Grade I (Mild) Sprain: You can often start within a week, once initial pain and swelling have decreased.
- Grade II (Moderate) Sprain: Rehab typically begins around 2-3 weeks post-injury, when you can bear some weight without significant pain.
- Grade III (Severe) Sprain or Fracture: Balance work is usually introduced much later, often 6-8 weeks or more, after the tissues have had ample time to heal.
Once you have the green light, follow this progressive plan. Aim for 3-5 sessions per week, with each session lasting 5-15 minutes.
Phase 1: Beginner Stability
Start by placing your balance board on a flat, non-slip surface, with a wall or sturdy chair nearby for support.
- Two-Foot Stand: Place both feet on the board, shoulder-width apart. Try to find your balance and hold it steady. Aim for 30-60 seconds. Rest and repeat 3 times.
- Weight Shifts: From the two-foot stand, gently shift your weight from side to side, trying to tap the edges of the board on the floor. Then, try shifting front to back. Perform 10-15 shifts in each direction.
Phase 2: Intermediate Control
Once you can comfortably perform the beginner exercises, you’re ready to increase the challenge.
- Single-Leg Stand: With your hand on a support, carefully lift your uninjured foot off the board. Try to hold your balance on the injured leg for 15-30 seconds. As you get stronger, try to let go of the support. Repeat 3 times on each leg.
- Board Tilts/Circles: On a wobble board, try to control the tilt. Trace the alphabet with the edge of the board, or make slow, controlled circles clockwise and counter-clockwise. Perform for 60 seconds.
Phase 3: Advanced Proprioception
These exercises are for the final stages of rehab, when you’re working to make your ankle “bulletproof.”
- Single-Leg Stand with Eyes Closed: This removes your visual input and forces your proprioceptive system to do all the work. Start with your hand on a support and aim for 10-15 seconds.
- Single-Leg Stand with a Ball Toss: Have a partner gently toss you a small ball while you balance on one leg. This adds a dynamic challenge that mimics real-world situations.
Expert PT Tip: When performing single-leg exercises, focus on keeping your hip, knee, and ankle in a straight line. Avoid letting your knee collapse inward. This ensures you’re strengthening the correct stabilizing muscles around the ankle and protecting your knee.

Safety Tips, Progress Tracking & When to Seek Professional Help
Your safety is the top priority during balance board ankle rehabilitation. Keep these essential guidelines in mind.
Key Safety Precautions
- Always Use Support: Especially at the beginning, use a wall, counter, or sturdy chair to steady yourself.
- Clear Your Space: Make sure the area around you is clear of sharp corners or clutter in case you lose your balance.
- Listen to Your Body: A feeling of muscle fatigue is normal. Sharp pain is not. If an exercise hurts, stop immediately.
- Be Aware of Contraindications: Balance board training may not be suitable for everyone. Use extreme caution if you:
- Are recovering from recent surgery.
- Have osteoporosis or fragile bones.
- Suffer from severe balance disorders.
- Have a history of knee injuries (some studies show a potential for increased knee strain).
For a deeper dive into safety, especially for older adults, read our guide on Balance Boards for Seniors: Benefits and Precautions.
Common Mistakes to Avoid
- Mistake: Too much, too soon. Eagerness can lead to re-injury.
- Quick Fix: Follow a progressive plan. Master each phase before moving on. Rest for 24-48 hours between sessions.
- Mistake: Looking down at your feet. This throws off your natural balance.
- Quick Fix: Keep your head up and look at a fixed point on the wall in front of you.
- Mistake: Holding your breath. This tenses your body and makes balancing harder.
- Quick Fix: Breathe slowly and naturally. Inhale as you prepare, exhale as you execute a movement.
Tracking Your Progress & When to Get Help
Progress in rehab is about consistency, not intensity. A little bit of work done regularly yields the best results. We’ve created a simple printable chart to help you stay on track.
You should see gradual improvement over 4-6 weeks. However, you should consult a doctor or physical therapist if you experience:
- A sharp increase in pain or swelling.
- A feeling of instability that isn’t improving.
- No noticeable progress after several weeks of consistent effort.
Recovering from an ankle injury requires patience, but with the right tools, you can actively rebuild a stronger, more stable foundation. A balance board is more than just a piece of equipment; it’s a proven partner in your journey back to full strength and confidence.
